
March Field Day: Nelson Beach
2nd March, 2019
Summary & Follow up
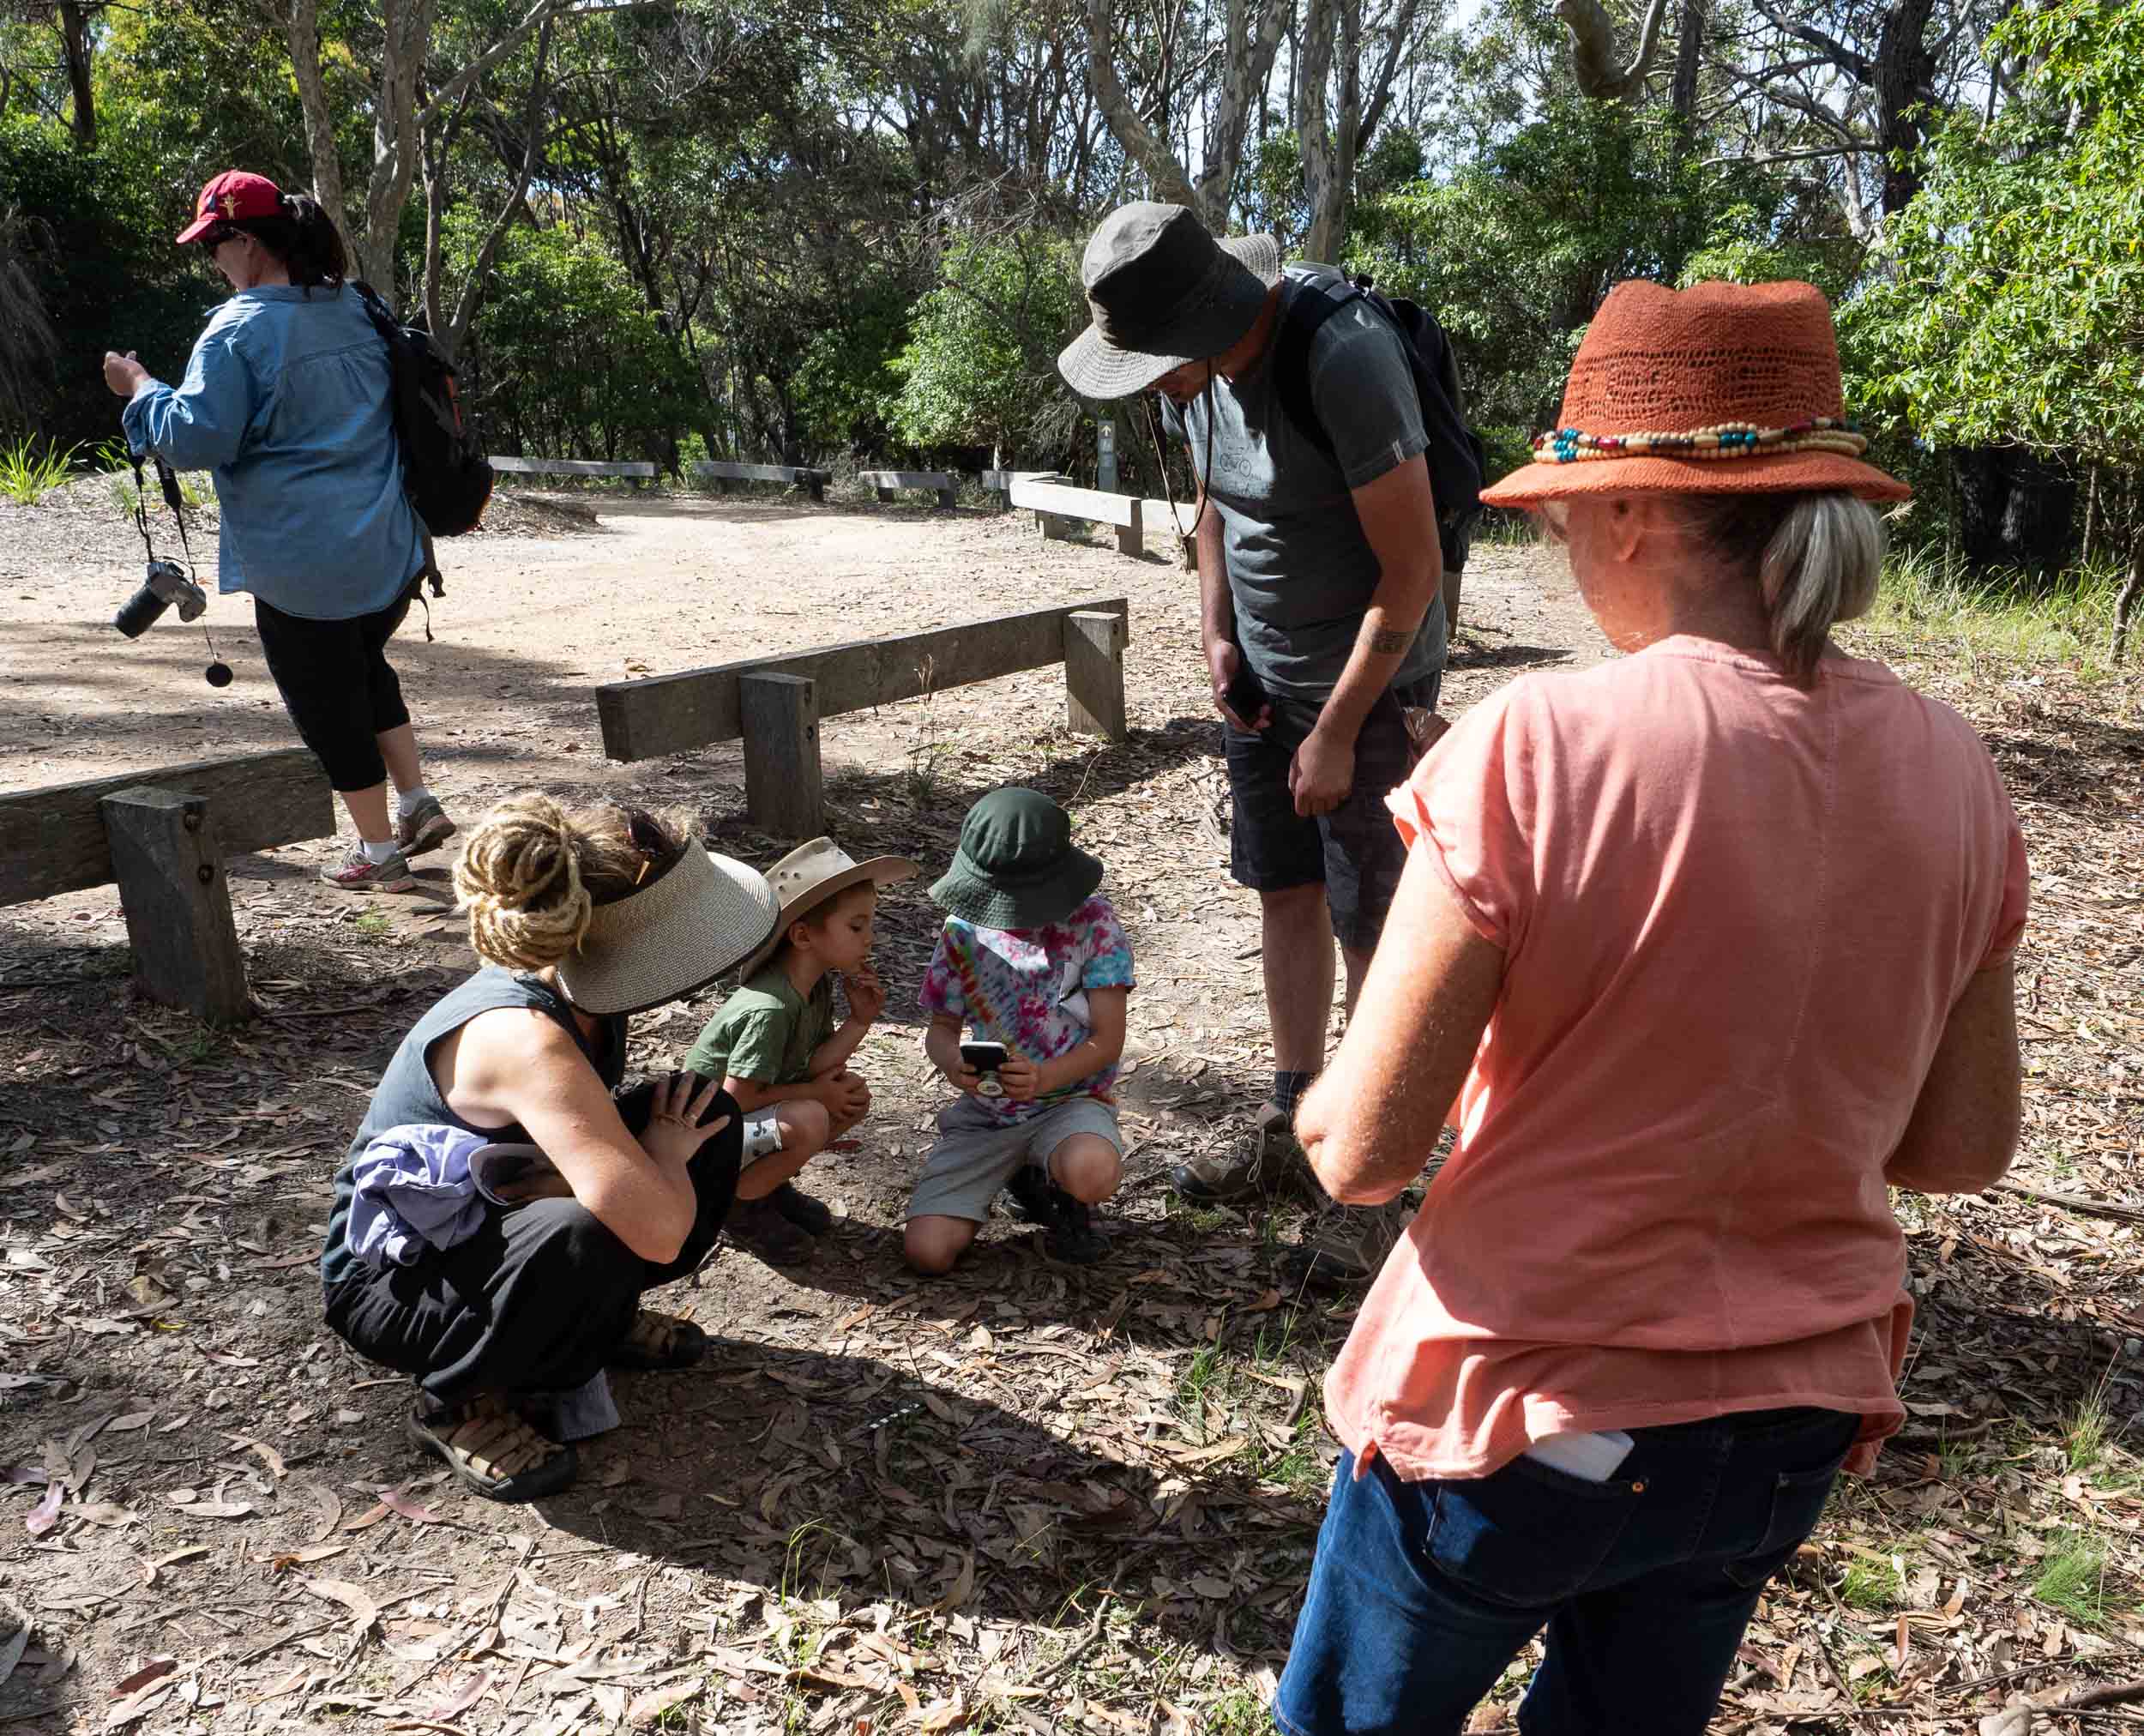
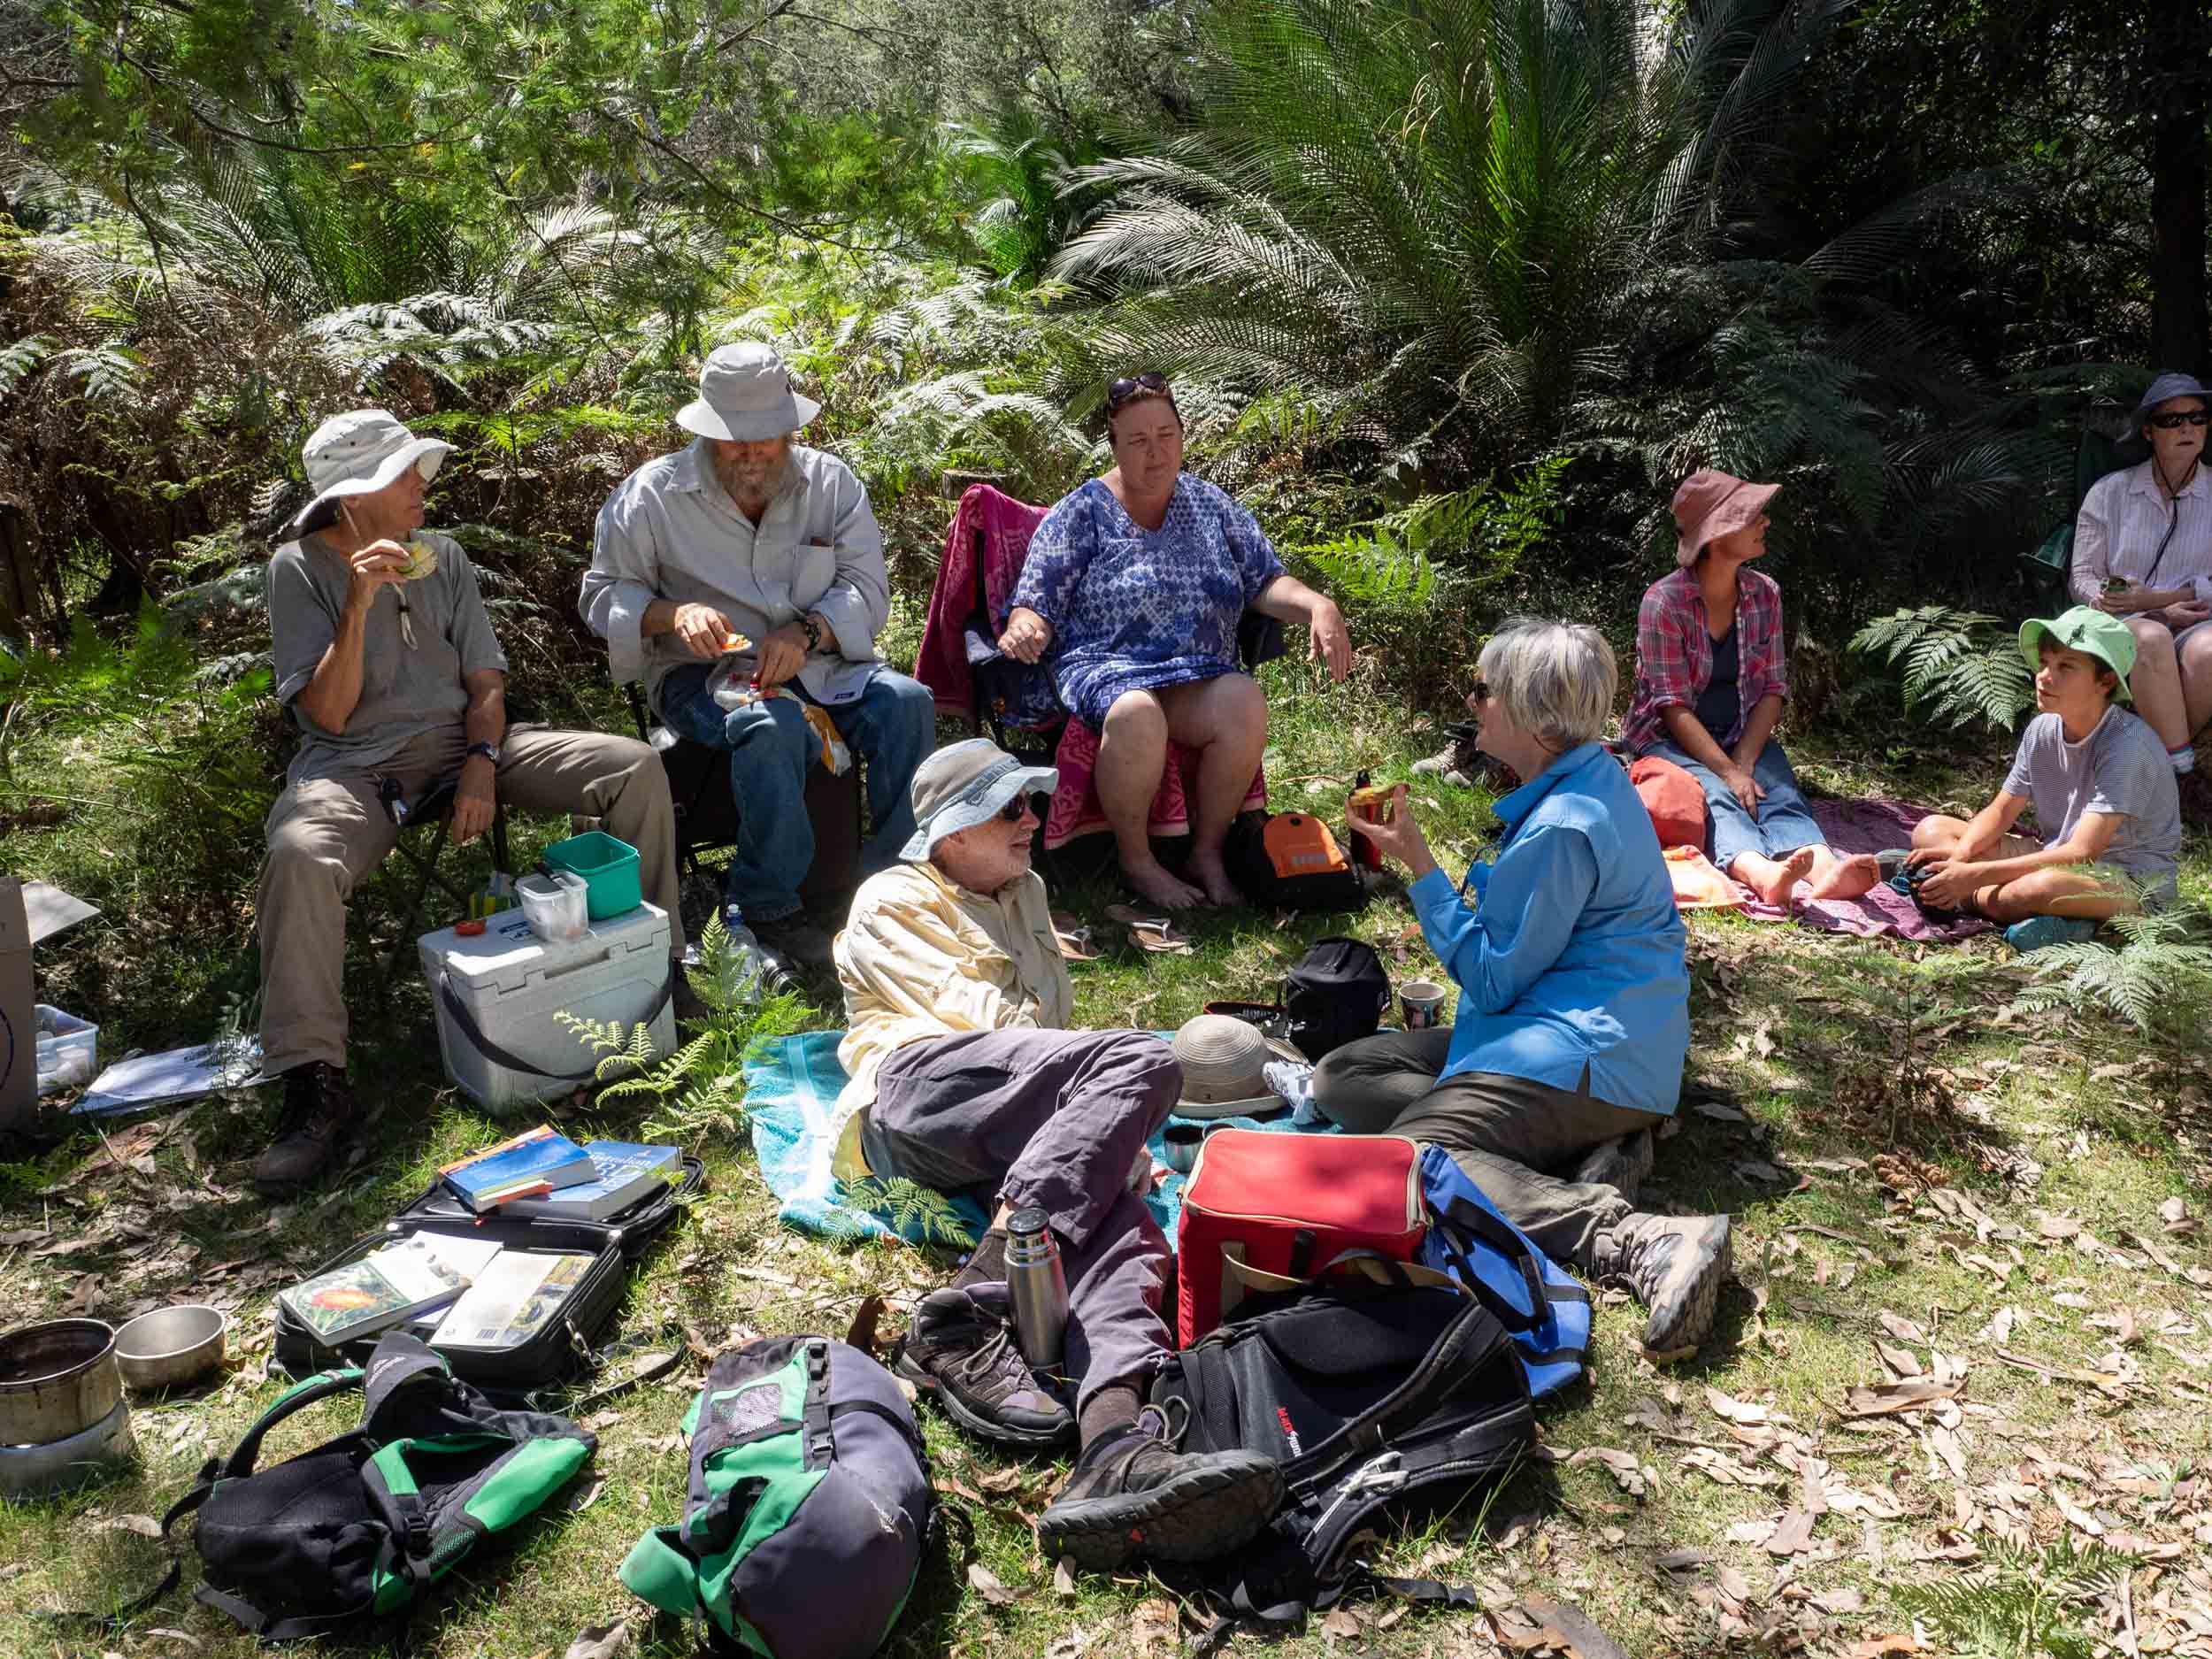
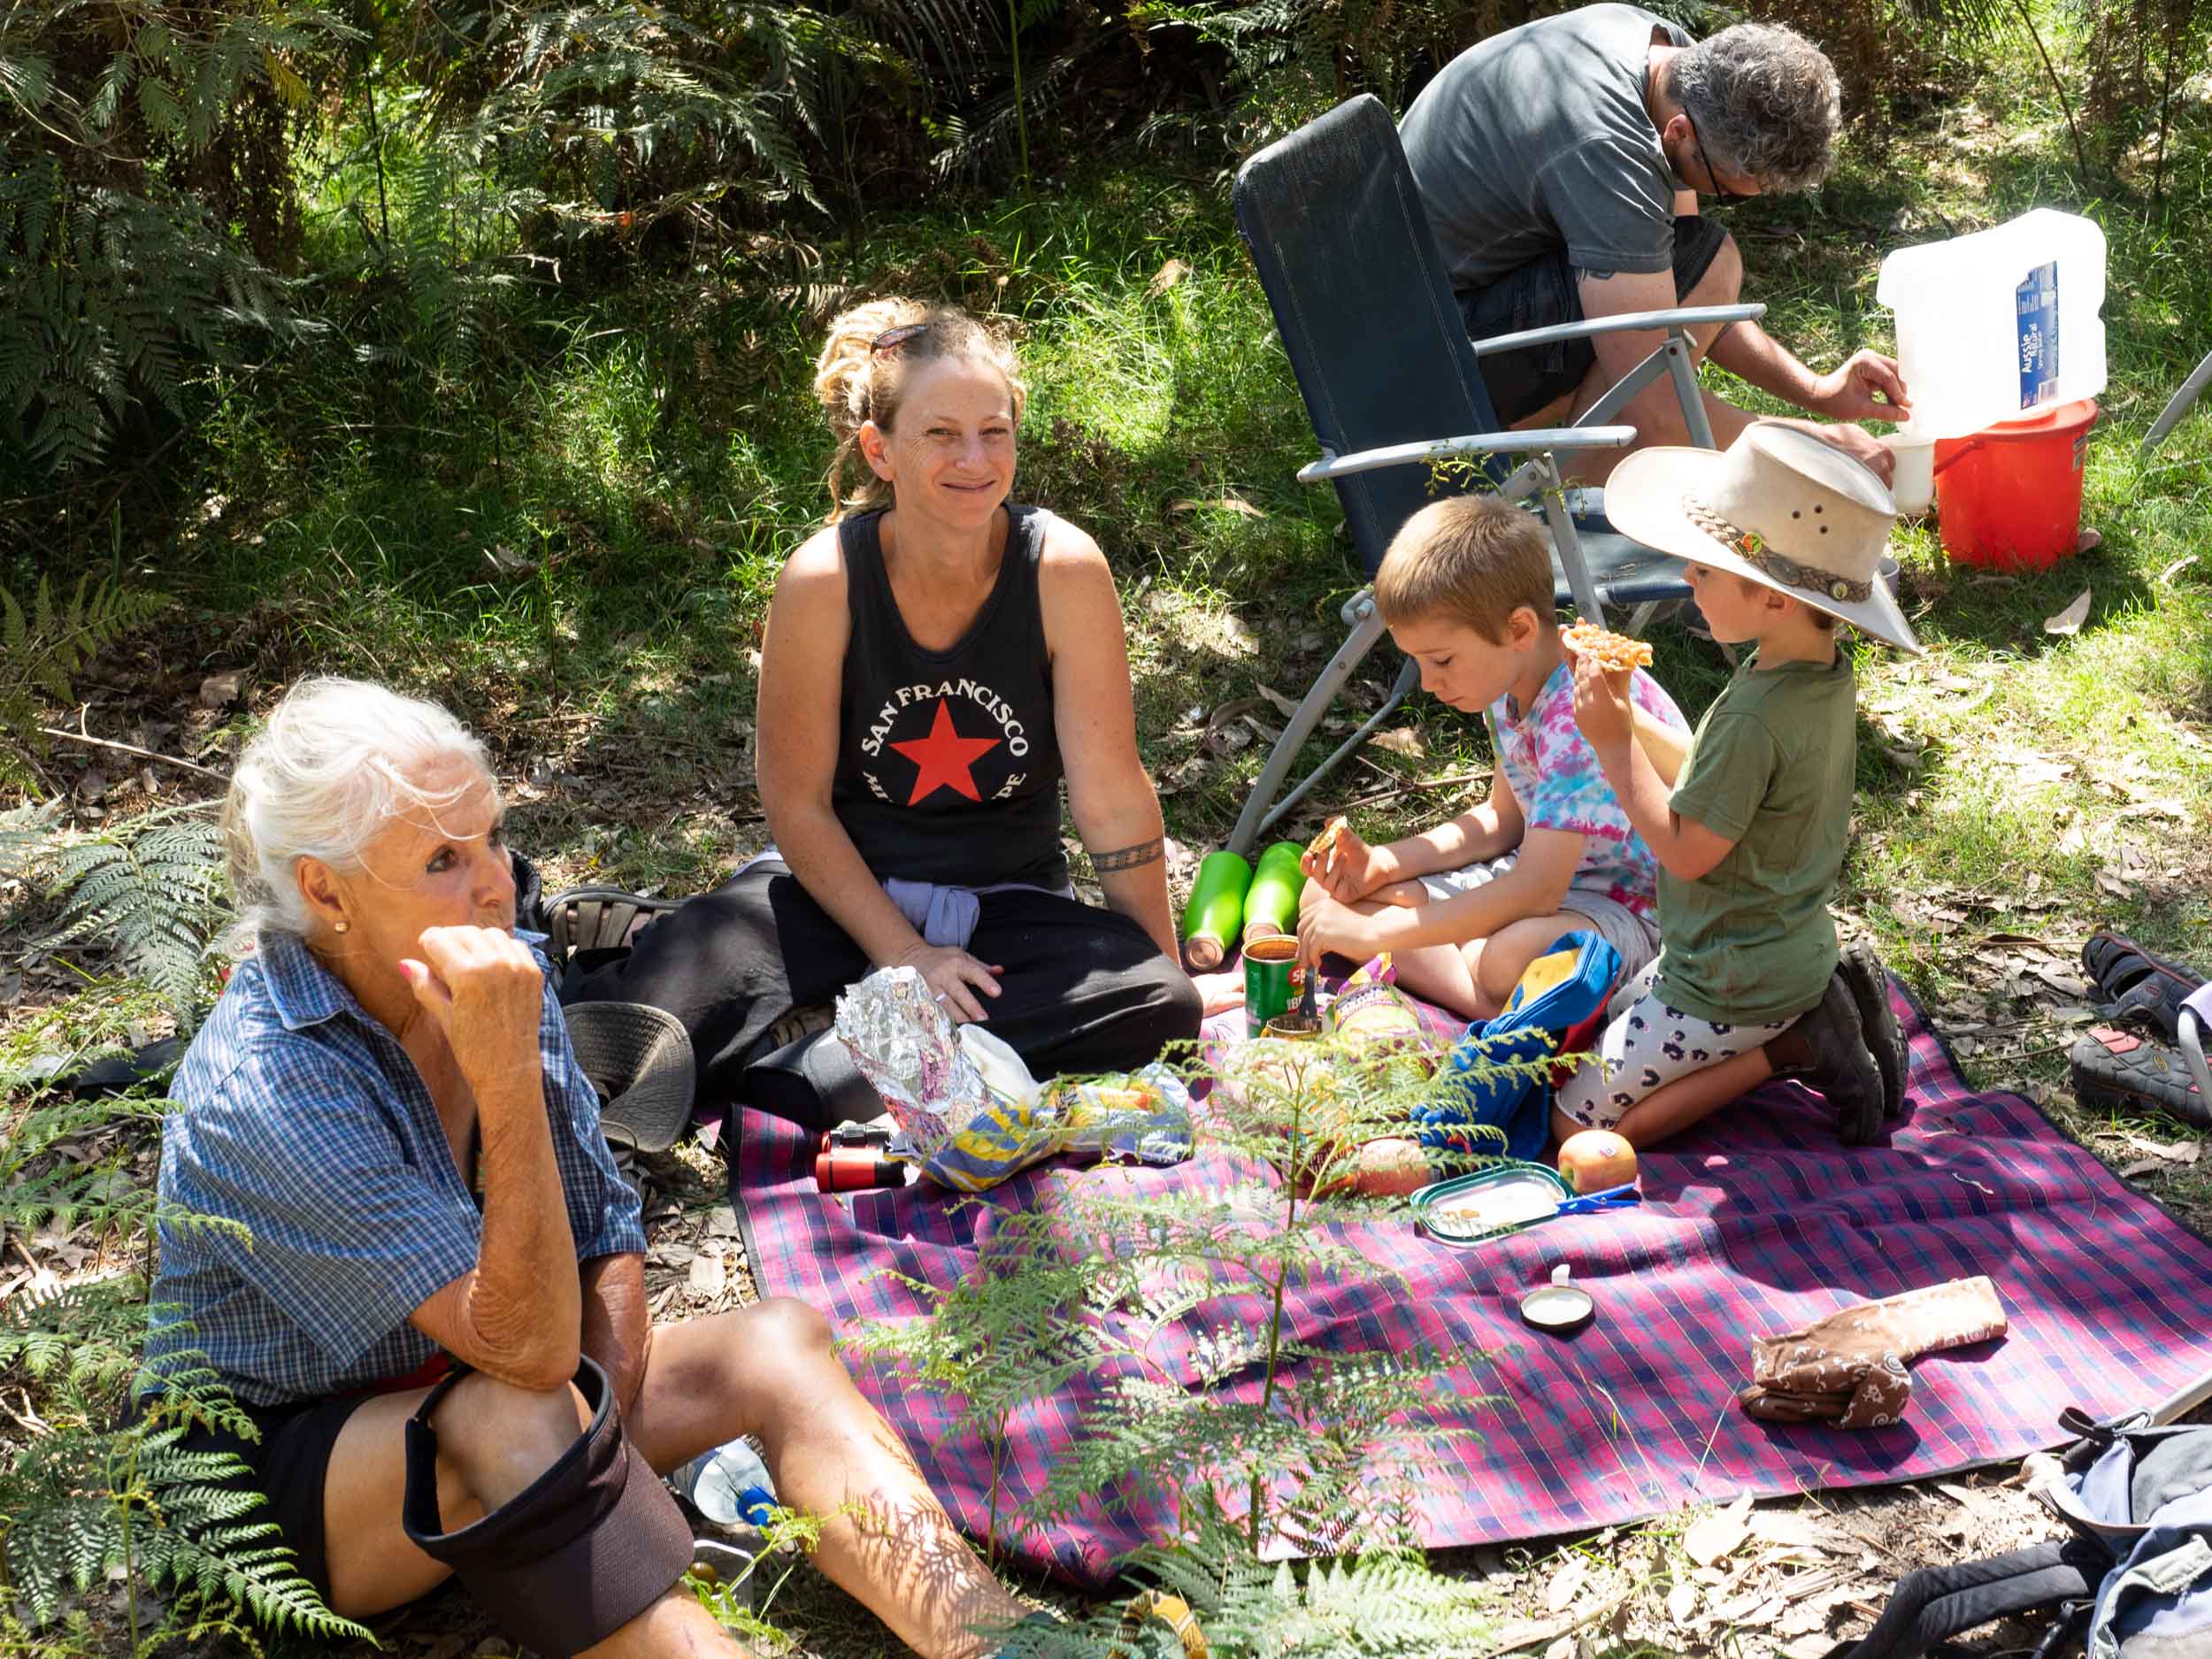
An enthusiastic group of naturalists, a beautiful place, and excellent weather. The makings of a perfect day for our inaugural Altas Naturalists Field Day.

view from Wajurda Point, Saturday 2nd March 2019

Here are just a few of the day’s discoveries

Pastel flower (Pseuderanthemum variabile) by Loki Lambert (click for details)
Despite Autumn’s arrival, there were a few plants in flower. These pretty little Pastel Flowers (Pseuderanthemum variabile) belong to the family Acanthaceae, which is much more common in the tropics than here in the south.
Ruby Saltbush (Enchylaena tomentosa) is a traditional snack. The fruits are reported to be salty-sweet, and even the leaves quite digestible when cooked.
I doubt anyone in the group tried them - which is for the best, unless Jackie was at hand to make a positive ID.

Ruby Saltbush (Enchylaena tomentosa) by Jackie Miles (click for details)

Sand Anemone (Oulactis muscosa) by Maggie Clowes (click for details)
At first glance, these anemones look to be struggling, half buried in sand. They actually attach small pieces of sand and shell to the column, quite deliberately. Hence the common name ‘Sand Anemone’, I guess.
A tiny flash of metallic blue - an Emerald or Cuckoo wasp! These beautiful little insects live up to their common name as cuckoos. They sneak into the nests of other wasp species, dropping an egg onto the food cache intended for the host larva. The developing cuckoo larva eventually takes over … the same strategy used by cuckoo birds.

Cuckoo wasp (Chrysididae) by Loki Lambert (click for details)

Lace Monitor (Varanus varius) by Jackie Lambert (click for details)
Several reptiles were seen, including this Goanna, Jacky Lizards, an Eastern Water Dragon, and various small skinks.
Some people managed a brief glimpse of a small, plain brown snake. It was probably a White-lipped Snake (Drysdalia coronoides) … an endemic species which feeds almost exclusively on small skinks.
There were many of these large orb-weavers alongside the track to the lagoon. Nephila silk is golden, and very strong.
Suzi noticed that the spiders build multi-tiered webs – the main food-capture web, and additional layers in front and behind.
These ‘barrier webs’ are thought to help protect the spider from predators, and perhaps also to protect the main web from accidental damage by birds or even blowing leaves. Read more in this Wikipedia article
The small spider in the photo is a male, while the huge one is a mature female.

Golden Orb-weaver (Nephila plumipes) by Paul Whitington (click for details)

Bracket fungus (Phaeotrametes decipiens) by Teresa Van Der Heul (click for details)
The discovery of this fungus came as a pleasant surprise to Teresa, a local fungi expert.
The pores on the underside of the woody fungus are an important feature for identification. Their size and shape, the colour of the walls, and their arrangement are all defining characteristics.
An Australian Hobby and a Dollarbird were welcome bird sightings. The large numbers of Bell Miners, rather less so. The Bell Miners have been using this patch of forest for many years, and the eucalypts are showing the effects.
The impact of these birds on forest ecosystems even has a name – Bell Miner Associated Dieback (BMAD). The Office of Environment and Heritage NSW recognise BMAD as a Key Threatening Process. Read more …
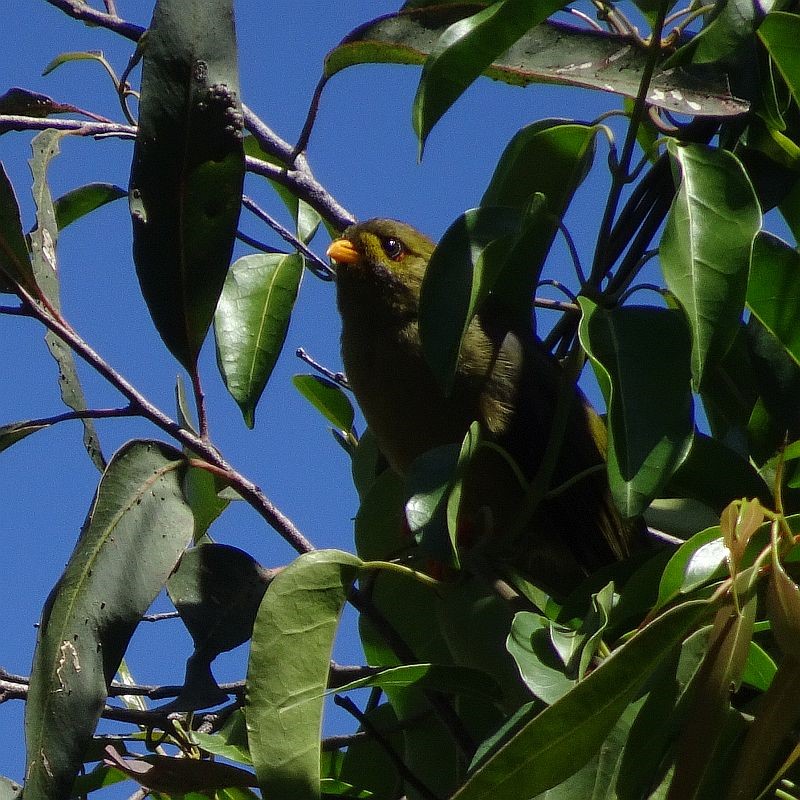
Bell Miner by Jackie Miles (click for details)
Click here to view all the recorded sightings on NatureMapr. Scroll through photos taken at Nelson Beach during our Field Day on 2nd March. You can also view sightings made at the same location, before and since.
Nature Photography, and getting the most from your camera
We started the day with a brief exercise and discussion on photographic techniques. Of course, there will be many more opportunities to refine photography skills at later Field Days and Workshops.
In the meantime here are a few more ideas, building on our discussions:
Tip 1: Getting close to your subject
Avoid sudden movements. Visual animals, including most insects and birds, are highly sensitive to movement. Take shots at each stage of your approach, just in case it’s the only chance you get.
Beware of your shadow. A sudden change in the light is usually enough to cause an insect to flee. Approach from the ‘down-sun’ side, and reduce your shadow if possible.
Watch, wait, and watch some more. A little patience often pays off. For example, may insects – including butterflies – patrol set territories, and use select perches.
Tip 2: Know what to photograph
If you are familiar with the identifying features of your subject, you will know exactly what ‘parts’ to photograph. Most of the time, however, you won’t have this knowledge. As a general principal, take photos from as many angles as possible - and take lots. For plants, be sure to photograph leaves, flowers and fruit (if present). For mushrooms, be sure to photograph the underside and stem, as well as the cap. Read more about photographing fungi
Tip 3: Spot focus with a phone camera
Many phones, including iPhones and Samsung phones, enable you to select your point of focus by touching the screen. In the example below, the first image shows the effect of touching the beetle, while the second the change of focus after touching the shell. The effect may look subtle on the phone screen, but the result is a much sharper image of the chosen subject.
The camera will hold the object in focus as the photo is taken, so long as the phone is held still.


Tip 4: Take advantage of your telephoto
If your camera has the ability to zoom in before taking a shot, or if you have a long focal-length lens, try using this for macro photography. A photo of a butterfly taken this way, and then cropped, can be just as good as a shot taken up close with a macro lens. And butterflies rarely let you get too close!
Tip 5: Use Speed and Aperture priority settings (a bit more technical)
SLRs and many fixed-lens cameras allow you to select from a range of settings, including Auto, Program and others.
For nature photography, I strongly recommend using Speed or Aperture.
Speed priority (may be called ‘S’ or ‘Tv’)
Aperture priority (may be called ‘A’ or ‘Av’)
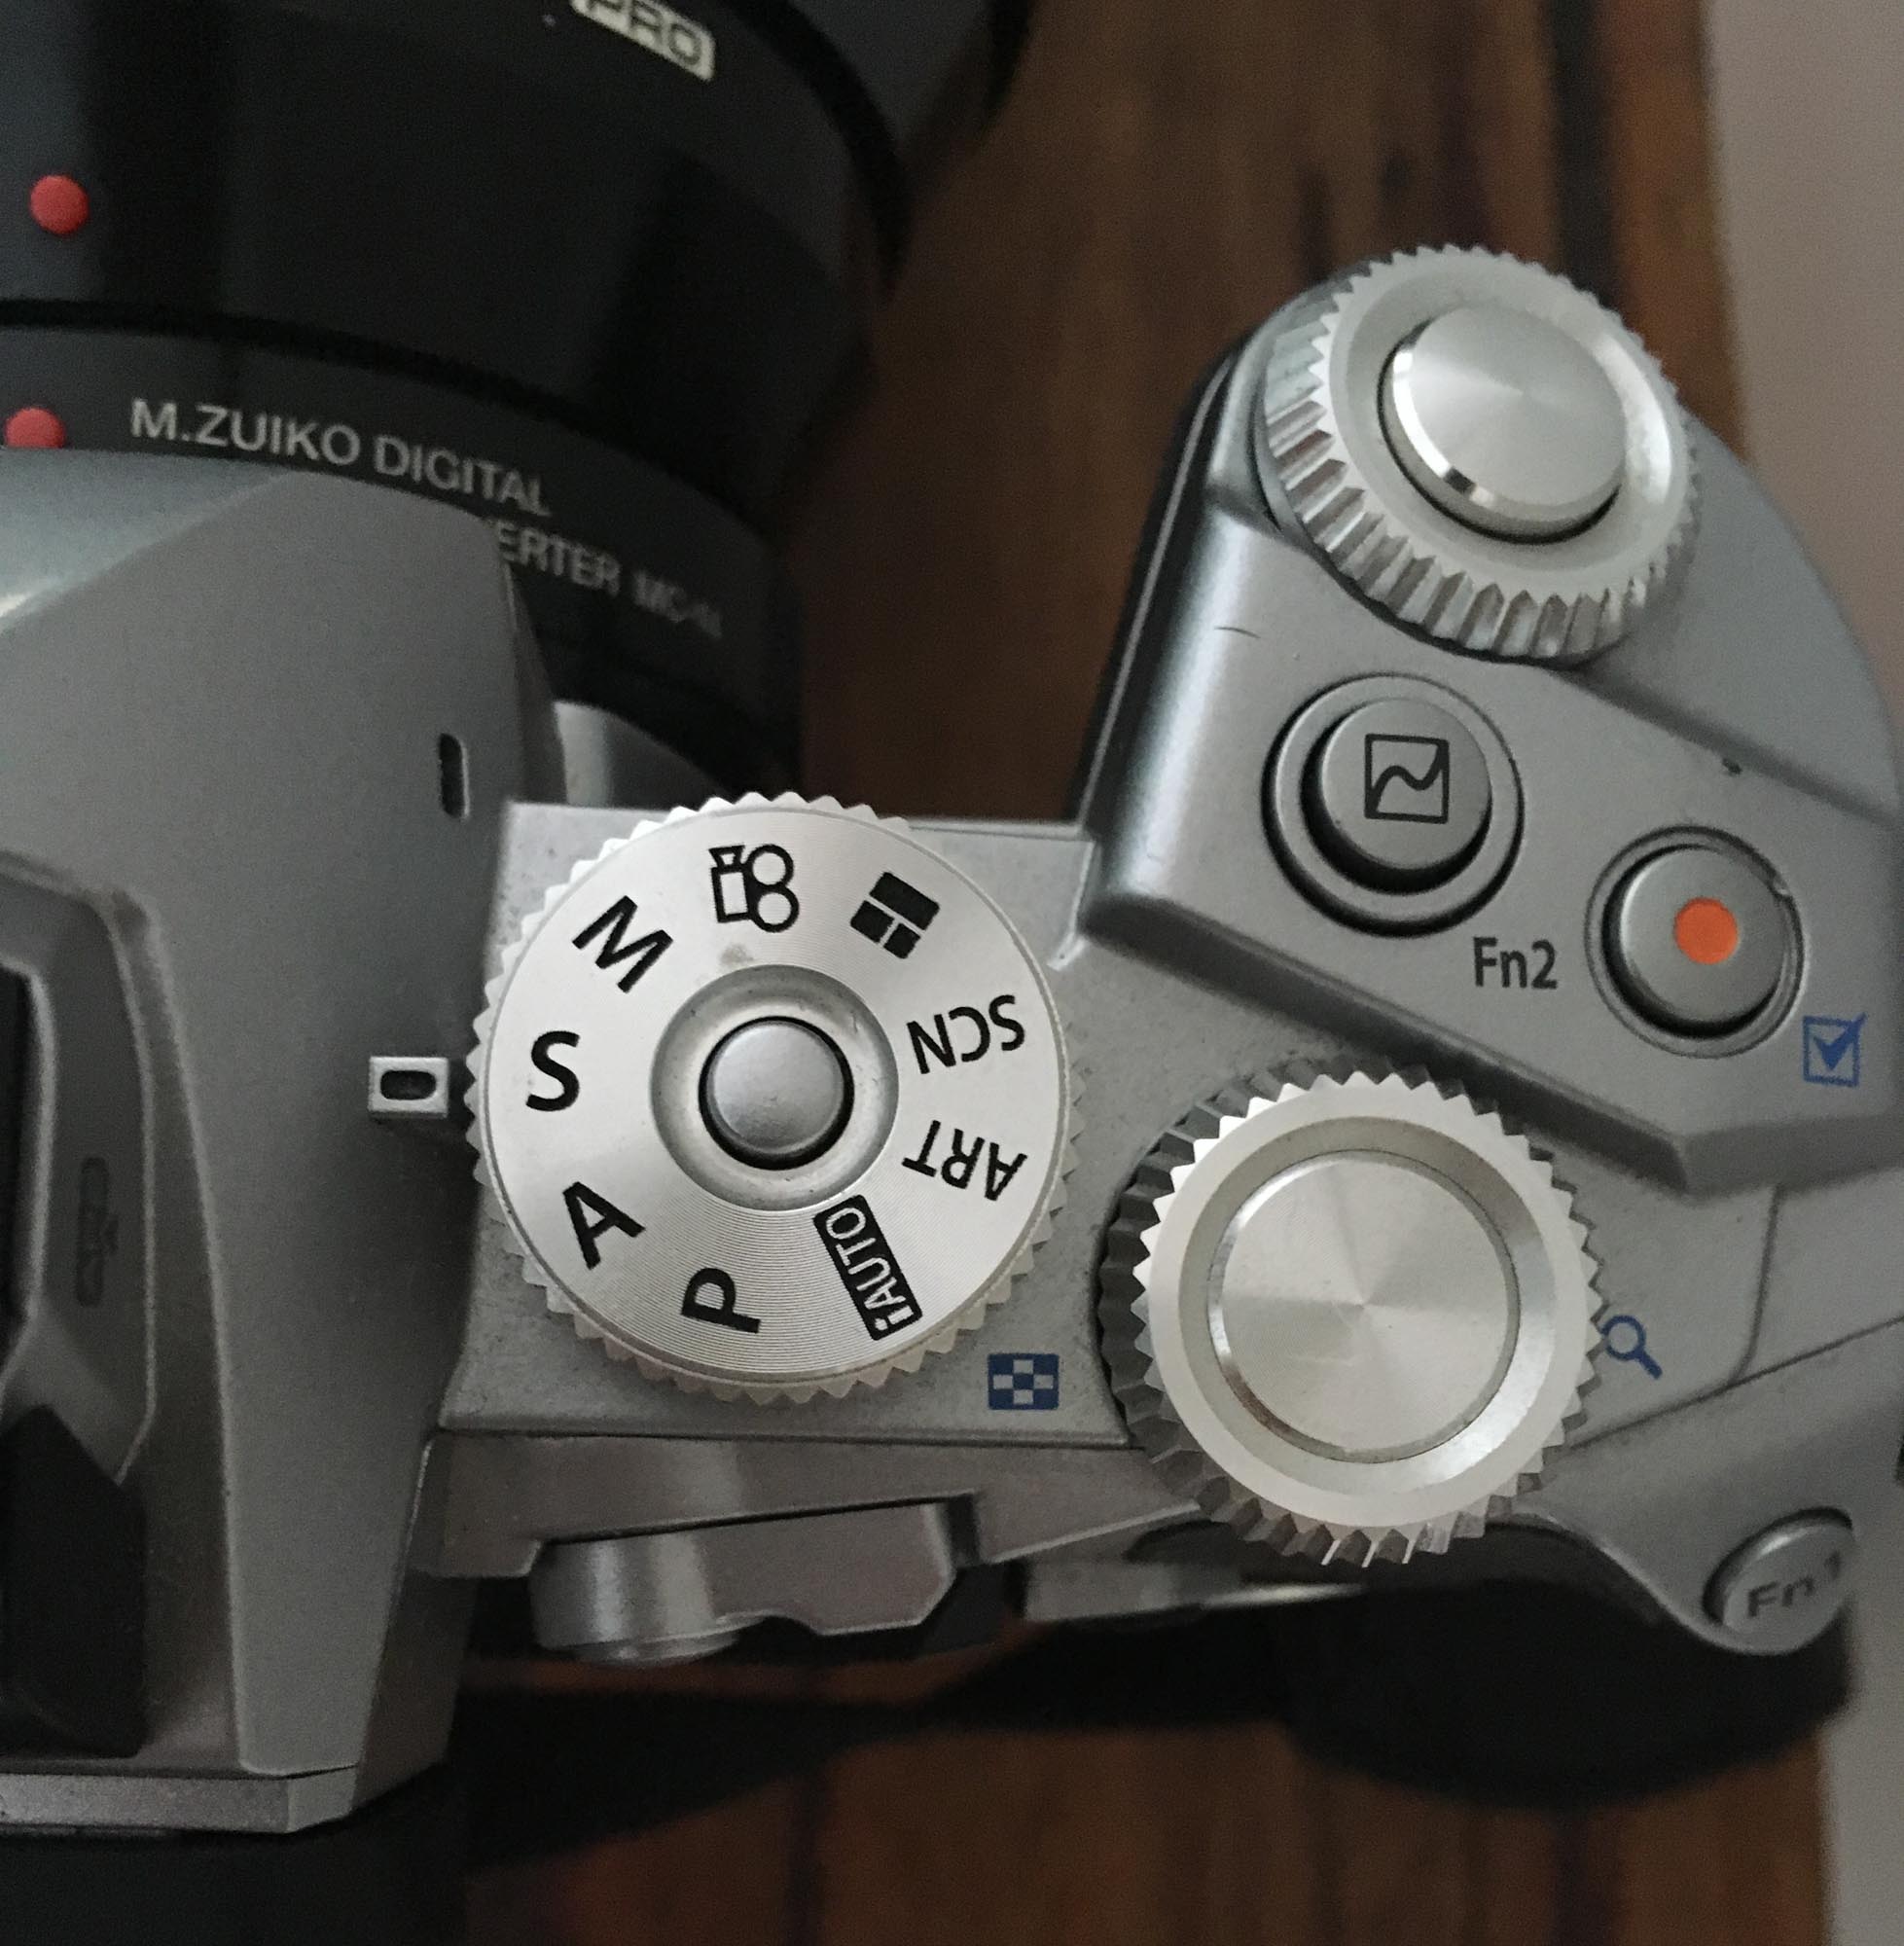
An example of a camera set to Speed Priority. The speed is controlled by rolling the front dial.
Choose Speed priority if the subject is moving, or is likely to move. I use this for all birds, flying insects – and even plants on a windy day. In fact, I leave my camera (which has a telephoto lens) set to Speed priority most of the time.
For most cameras the speed should be at 1/60 second or faster (unless you are using a tripod). This will probably show as 60 on your camera display. Just remember, the higher the number, the faster the shutter speed. For birds in flight, 1250 or even higher is often needed!
As you increase the speed, the Aperture number will decrease. This happens automatically, and means that the depth of field will decrease (see below).
Choose Aperture priority for close-up photography, where you need to control how much of the subject is in focus. Paul uses a macro lens for most of his insect and plant photography, and so Aperture priority is his default setting.
The higher the Aperture number, the more of the subject will be sharp (i.e. the greater the depth of field).
As you increase the Aperture number, the Speed will decrease. This happens automatically. It is a balancing act … a matter of checking how high can you set the Aperture number before the speed becomes too slow.
One final, technical note: As you tweak Speed or Aperture, a third parameter is affected – the ISO. In simple terms, you get a grainier/noisier picture as the ISO increases. This is an inevitable trade off, particularly if you are shooting in low light. The lower the ISO, the better, but I often accept a higher ISO in order to use a fast enough shutter speed.
Thank you to everyone involved. We look forward to our next meeting.
Paul & Kerri-Lee
click here to learn more about Atlas Naturalists, including how to join - and feel free to share this page